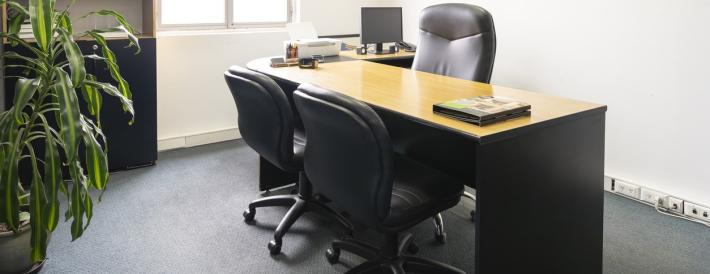
Moving or rearranging your workspace can feel overwhelming, especially when it comes to handling large furniture like an office desk. Whether you’re changing up your home office or getting ready to move your desk at work, it’s important to know how to take it apart properly. This guide will walk you through the process step by step, making it as easy as possible to disassemble your office desk.
What You Need
- Screwdriver
Both flat-head and Phillips-head screwdrivers may be needed, depending on the screws used in your desk.
- Allen wrench
Some desks require an Allen wrench for assembly and disassembly.
- Bags
To keep track of screws, bolts, and other small parts.
- Marker
For labeling the bags and parts, making reassembly easier.
- Box or tote
To store the contents of your desk, such as paperwork, office supplies, and other items
Step-by-Step Instructions
- Empty the desk
Start by removing everything from your desk. This includes office supplies, papers, electronics, and any personal items. Staying organized is key, so place these items in boxes or totes to keep them together. This will make reassembly easier when you set up your desk in its new location.
- Remove the desk
Once the desk is empty, it’s time to take out the drawers. Most drawers can be removed by fully extending them and then lifting them up to unhook them from the tracks. Set the drawers aside in a safe spot where they won’t get damaged. If the drawers have small parts like handles or tracks that come off, make sure to store those parts in labeled bags.
- Unscrew the desk
Now, it’s time to start taking apart the main structure of the desk. Begin by unscrewing the top of the desk, then work your way down. If you still have the instruction manual from when the desk was assembled, it can be very helpful to guide you through this process. If not, many manufacturers have their manuals available online. Following the original assembly instructions in reverse can make disassembly much easier.
- Separate the pieces
As you remove screws, gently separate the pieces of the desk. Be careful not to force anything apart, as this could damage the desk or strip the screws. Use your judgment to decide which parts need to be taken apart for the move. Sometimes, you can leave larger sections like the desktop and side panels intact if they can fit through doorways and into the moving vehicle.
- Organize screws and small parts
As you disassemble the desk, place all screws, bolts, and other small parts into separate bags. Label each bag with a marker, noting where the parts came from. For example, you might label a bag "top screws" or "drawer handles." This will save you time and frustration when you’re ready to reassemble the desk in your new location.
- Tape larger items together
If there are any larger parts, like support beams or legs, that can’t fit into a bag, tape them together. This will help ensure that nothing gets lost during the move. You can also tape the bags of screws to the corresponding parts so everything stays together.
There you go! Your office desk is now disassembled and ready to be moved. Remember, the key to a smooth disassembly is staying organized and taking your time. By following these steps, you can ensure that your desk will be easy to reassemble once you’re ready to set it up again. And remember, if you need any help at any stage of your moving experience, do not hesitate to contact your local TWO MEN AND A TRUCK®.

Thinking of Moving Yourself?
Think Again!
While moving yourself may seem less expensive... the costs add up.
Do-It-Yourself Moving Costs:
- Truck Rental
- Mileage
- Fuel Charge
- Additional Insurance
- Equipment Rental
(straps, rope, furniture pads, bungee cords, stretch wrap, dollies, etc.)
- Time
- Boxes & Packing Supplies
- Possible Damages
(belongings, relationships, & injuries)
- Recruiting Friends to Help
- Food & Beverages
- Chiropractor Visits
- Packing a Truck
- Learning How to Maneuver a Moving Truck
- Broken Promises
Call TWO MEN AND A TRUCK
We can move as much or as little as you need while fitting your schedule & budget!


